Asphalt driveways usually become the favorite among residential property owners as they are two-sided: they can retain their look unaltered for many years while also exhibiting great strength. On the contrary, with time, the driveway can start developing cracks and potholes, which actually weaken the structure of the driveway and, in the long run, affect both the look and the quality of your driveway. But fear not! In the end, with the use of relevant tools and techniques, you will be able to reverse the issues that led to the deterioration of your asphalt driveway.
This guide will take you through the thorough steps in crack and pothole repairs in your asphalt driveway. We will go through the processes involved in getting ready for the repairs, starting from the surface preparation to finishing the job using the appropriate repair materials. Let’s get started.
Preparing the Surface
Prior to asphalt repair, you should put a lot of thought into the maintenance of the surface of your driveway. Proper preparation will guarantee that the repair parts bind well and thus provide positive effects in the long run.
Clearing Debris
Start off by removing things like leaves, dirt, and loose rocks from the cracks and potholes. A broom or a leaf blower can be efficiently used by you to remove debris from the surface.
Cleaning the Surface
Furthermore, it is essential to clean the driveway surface in depth to remove all dirt, oil stains, and plant growth. You can either employ a pressure washer or scrub with a degreaser that efficiently removes oil stains. If any moss or vegetation is observed, lift it off the surface using a scraper or a pressure washer.
Drying the Surface
Allow the driveway’s surface to dry completely before proceeding with the repairs. This will ensure that the repair materials adhere properly and provide a seamless finish. The drying process may take a few hours or up to a day, depending on the weather conditions.
Repairing Asphalt Driveway Cracks
Cracks in your asphalt driveway can be unsightly and lead to further damage if left unattended. Here are the steps to repair cracks effectively:
Cleaning the Cracks
To begin, remove any loose debris or vegetation from the cracks using a wire brush or a crack-cleaning tool. This step is crucial as it creates a clean surface for the repair materials to adhere to.
Filling the Cracks
For smaller cracks, you can use a crack filler product specifically designed for asphalt repairs. Apply the crack filler using a caulk gun or squeeze bottle, ensuring that the crack is completely filled. Afterward, smooth the filler using a putty knife or trowel and allow it to dry according to the manufacturer’s instructions.
Repairing Alligator Cracks
In the event of alligator cracks forming, which look like a pattern of an alligator’s skin, then they require a focused intervention. Consequently, these fissures are often deeper, and they might need a roll or sealant paving compound or asphalt repair mix.
To fix alligator cracks, mix the proper amount of patching compound or repair mix according to the instructions given by the manufacturer. Apply this to the crevasse and even it out for a smooth surface using a putty knife or trowel. Let the fixing dry one hundred percent, and then apply a sealant to it.
Patching Asphalt Driveway Potholes
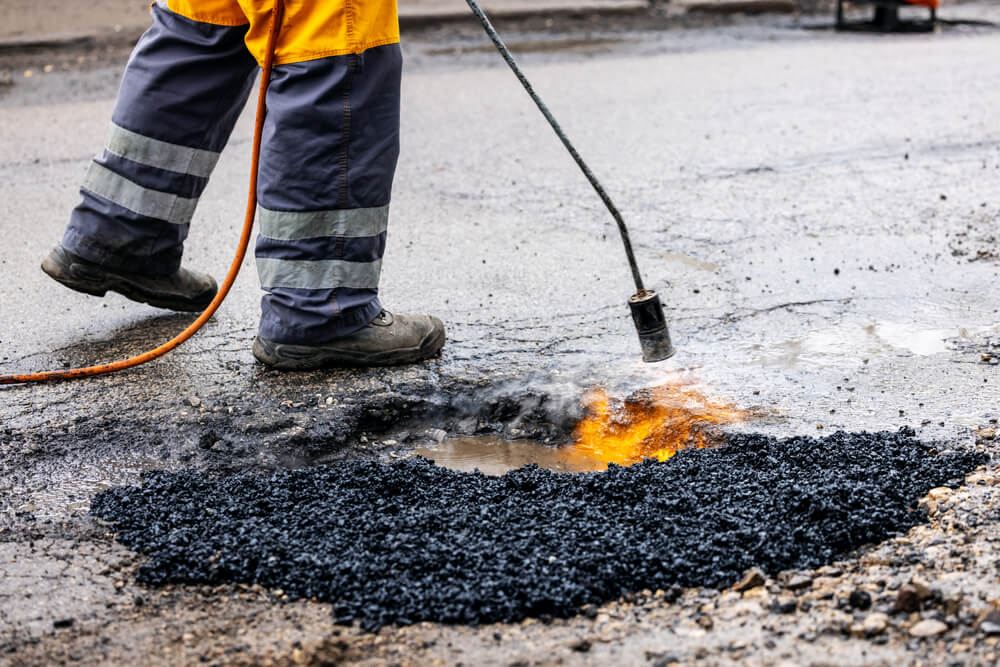
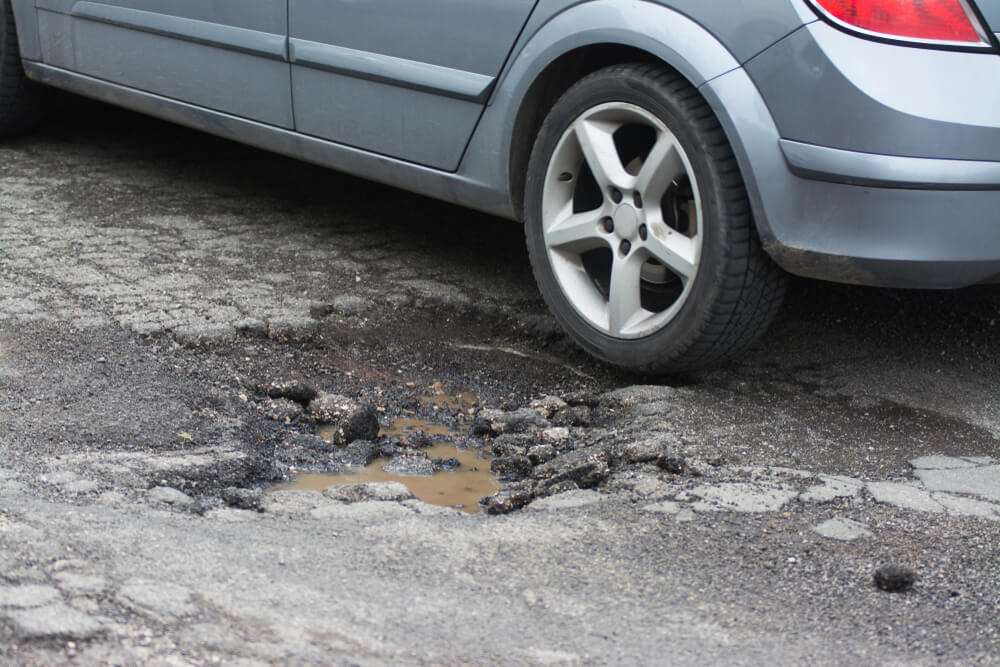
Potholes can be a major inconvenience and cause further damage to your driveway if not repaired promptly. Here’s how you can patch potholes effectively:
Clearing the Pothole
Start by removing any loose debris or vegetation from the pothole using a shovel or broom. Ensure that the pothole is clean and free of any loose materials before proceeding with the repairs.
Filling the Pothole
For smaller potholes, you can use a cold patch asphalt repair mix. Simply pour the mix into the pothole, slightly overfilling it to ensure proper compaction. Use a tamper or the back of a shovel to compact the mix, ensuring it is level with the surrounding surface.
For larger potholes, you may need to remove and replace the damaged asphalt with fresh asphalt. It’s recommended to reach out to a professional asphalt contractor, such as Richfield Blacktop, for this type of repair.
Curing and Sealing
Allow the patch to cure according to the manufacturer’s instructions before sealing the repaired area. Once the patch is fully cured, apply a high-quality sealant to protect the surface and ensure longevity.
Sealing the Asphalt Driveway
Sealing your asphalt driveway is essential in maintaining its appearance and prolonging its lifespan. Follow these steps to seal your driveway effectively:
Choosing the Right Sealant
There are various types of sealants available for asphalt driveways, including coal tar-based sealers and acrylic-based sealers. Research the different options and select a sealant that suits your needs and preferences.
Applying the Sealant
Start by sealing the edges of your driveway using a brush or paint roller. This will ensure a clean and neat finish along the edges. Then, using a squeegee or sealant applicator, apply the sealant evenly across the entire surface of the driveway. Work in small sections to ensure thorough coverage.
Allowing the Sealant to Dry
Allow the sealant to dry according to the manufacturer’s instructions before walking or driving on the driveway. Depending on the weather conditions, this process typically takes 24 to 48 hours.
Repairing Cracks and Potholes in Your Asphalt Driveway

Repairing cracks and potholes in your asphalt driveway is a manageable task that can be accomplished with the right tools, materials, and knowledge. By following the steps outlined in this guide, you can effectively repair your driveway and restore its functionality and appearance.
If you’re unsure about the repair process or have extensive damage on your driveway, don’t hesitate to contact Richfield Blacktop today for professional assistance.


